Tile installation is a different process than shingle or metal, with more steps and a longer timeline. Here’s exactly what happens, in order, so you know what to expect before the crew shows up.
Step 1: Structural Assessment
Tile is heavy, commonly 900 to 1,100 pounds per roofing square depending on profile. Before anything else happens, a contractor confirms the existing deck, rafters, and trusses can support that load. Most Phoenix-area homes built for tile already account for this, but it’s always verified, never assumed.
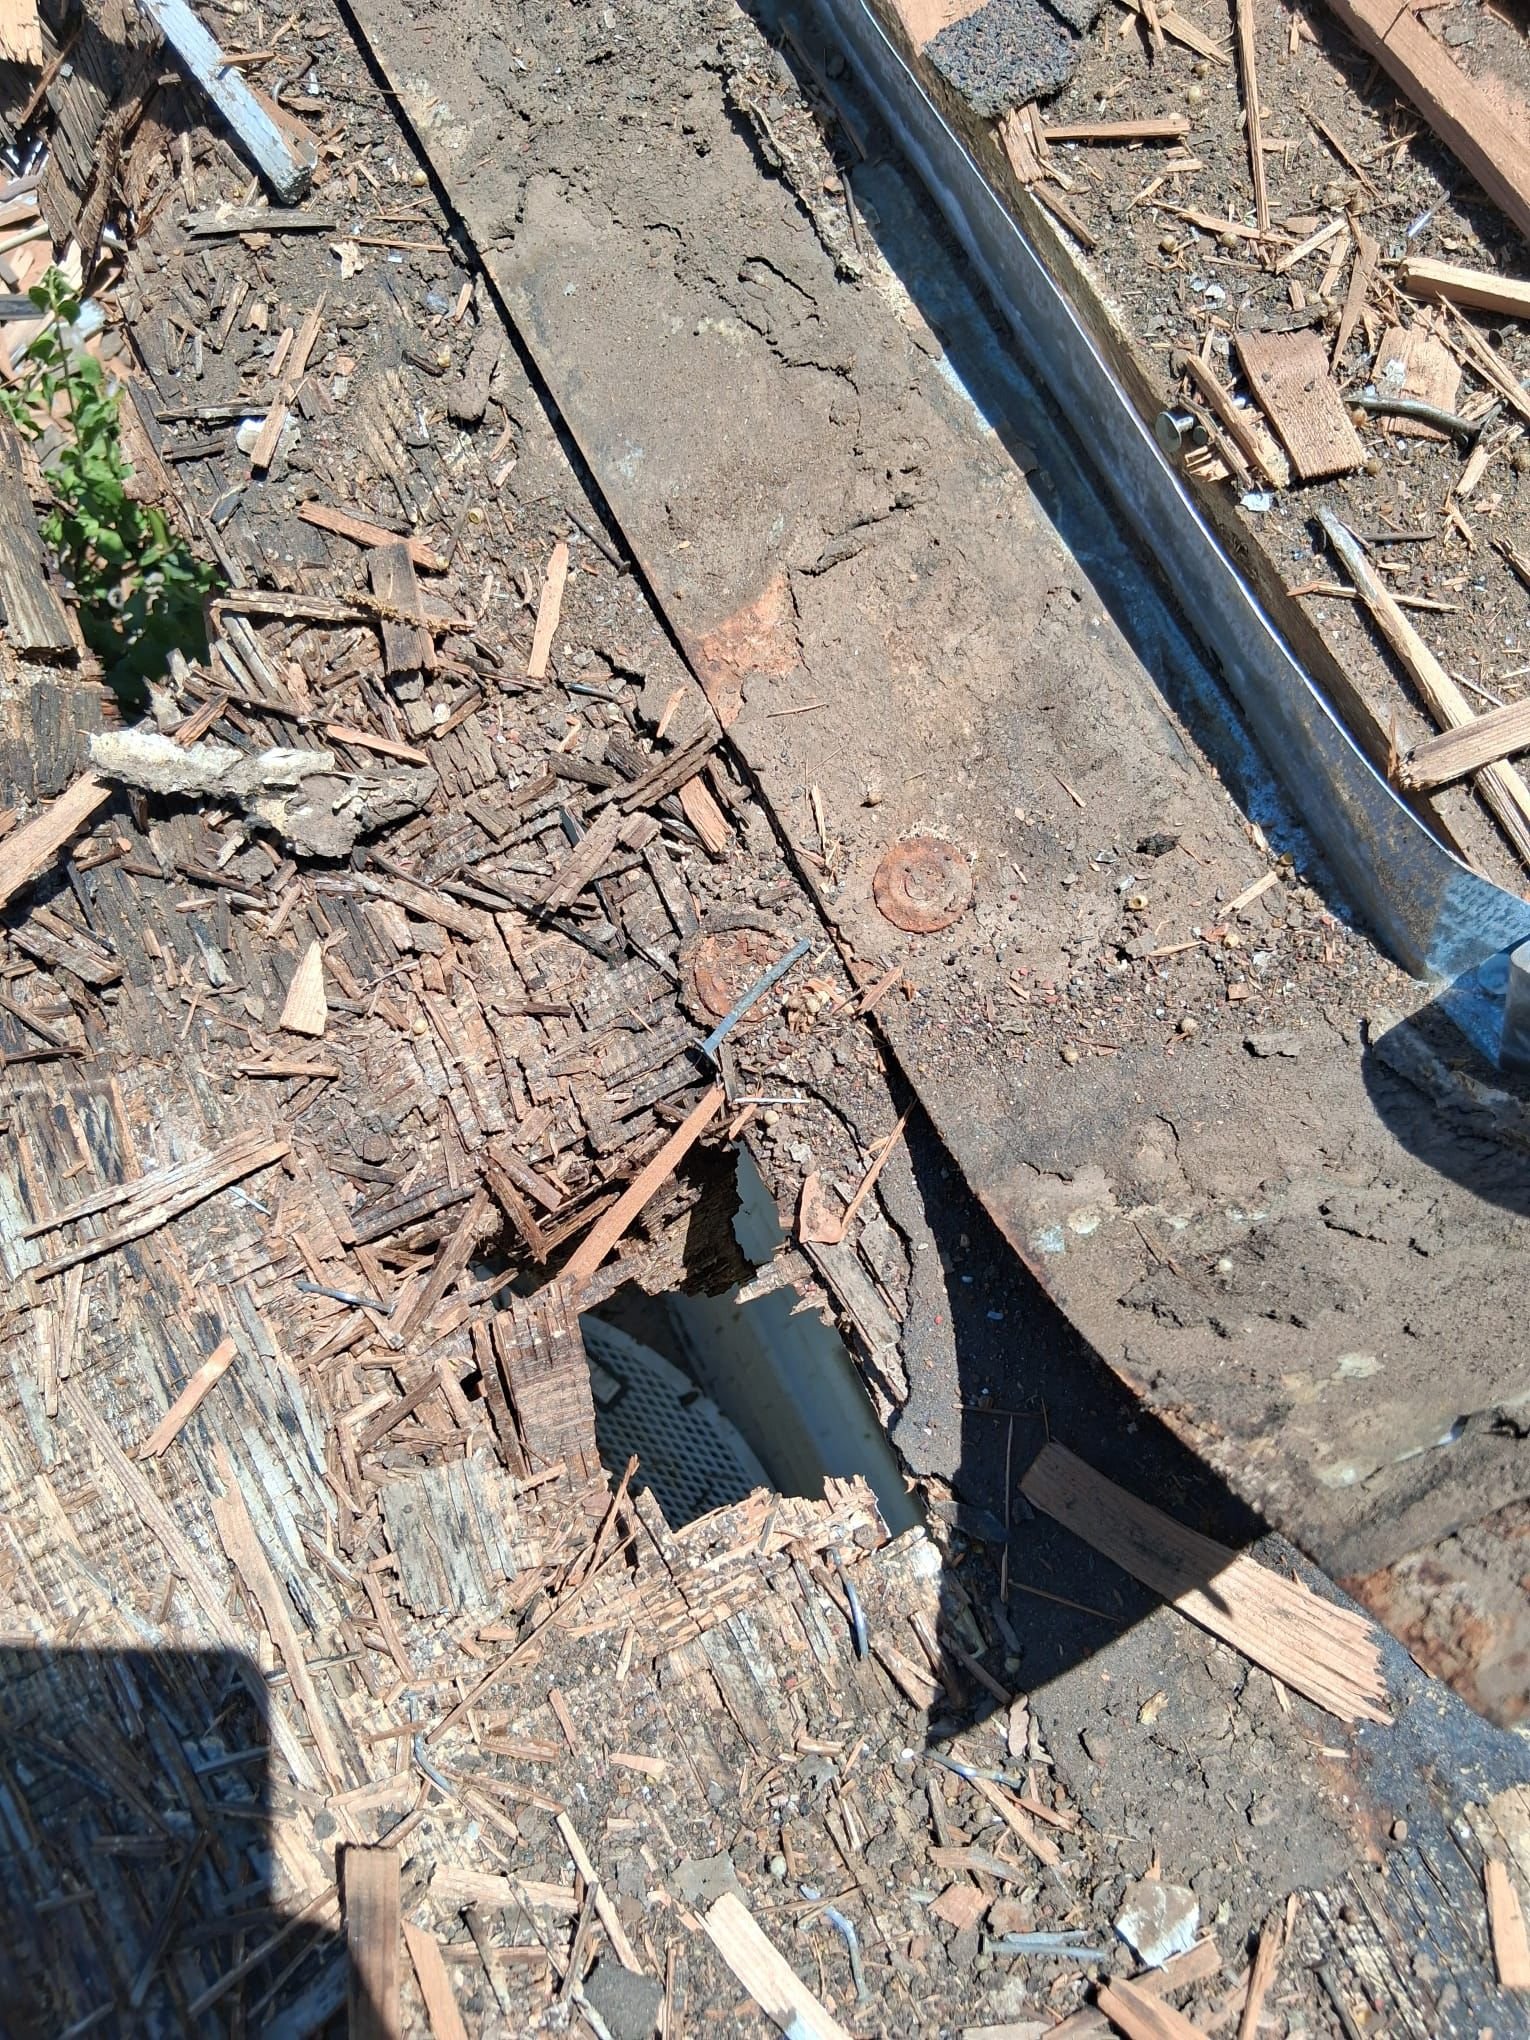
Step 2: Tear-Off and Deck Inspection
The old roofing comes off completely. This is when the deck gets inspected up close for rot, soft spots, or water damage, and any necessary repairs happen before anything new goes down. Expect this phase to be noisy and messy, with a dumpster or disposal trailer on site for a day or two.
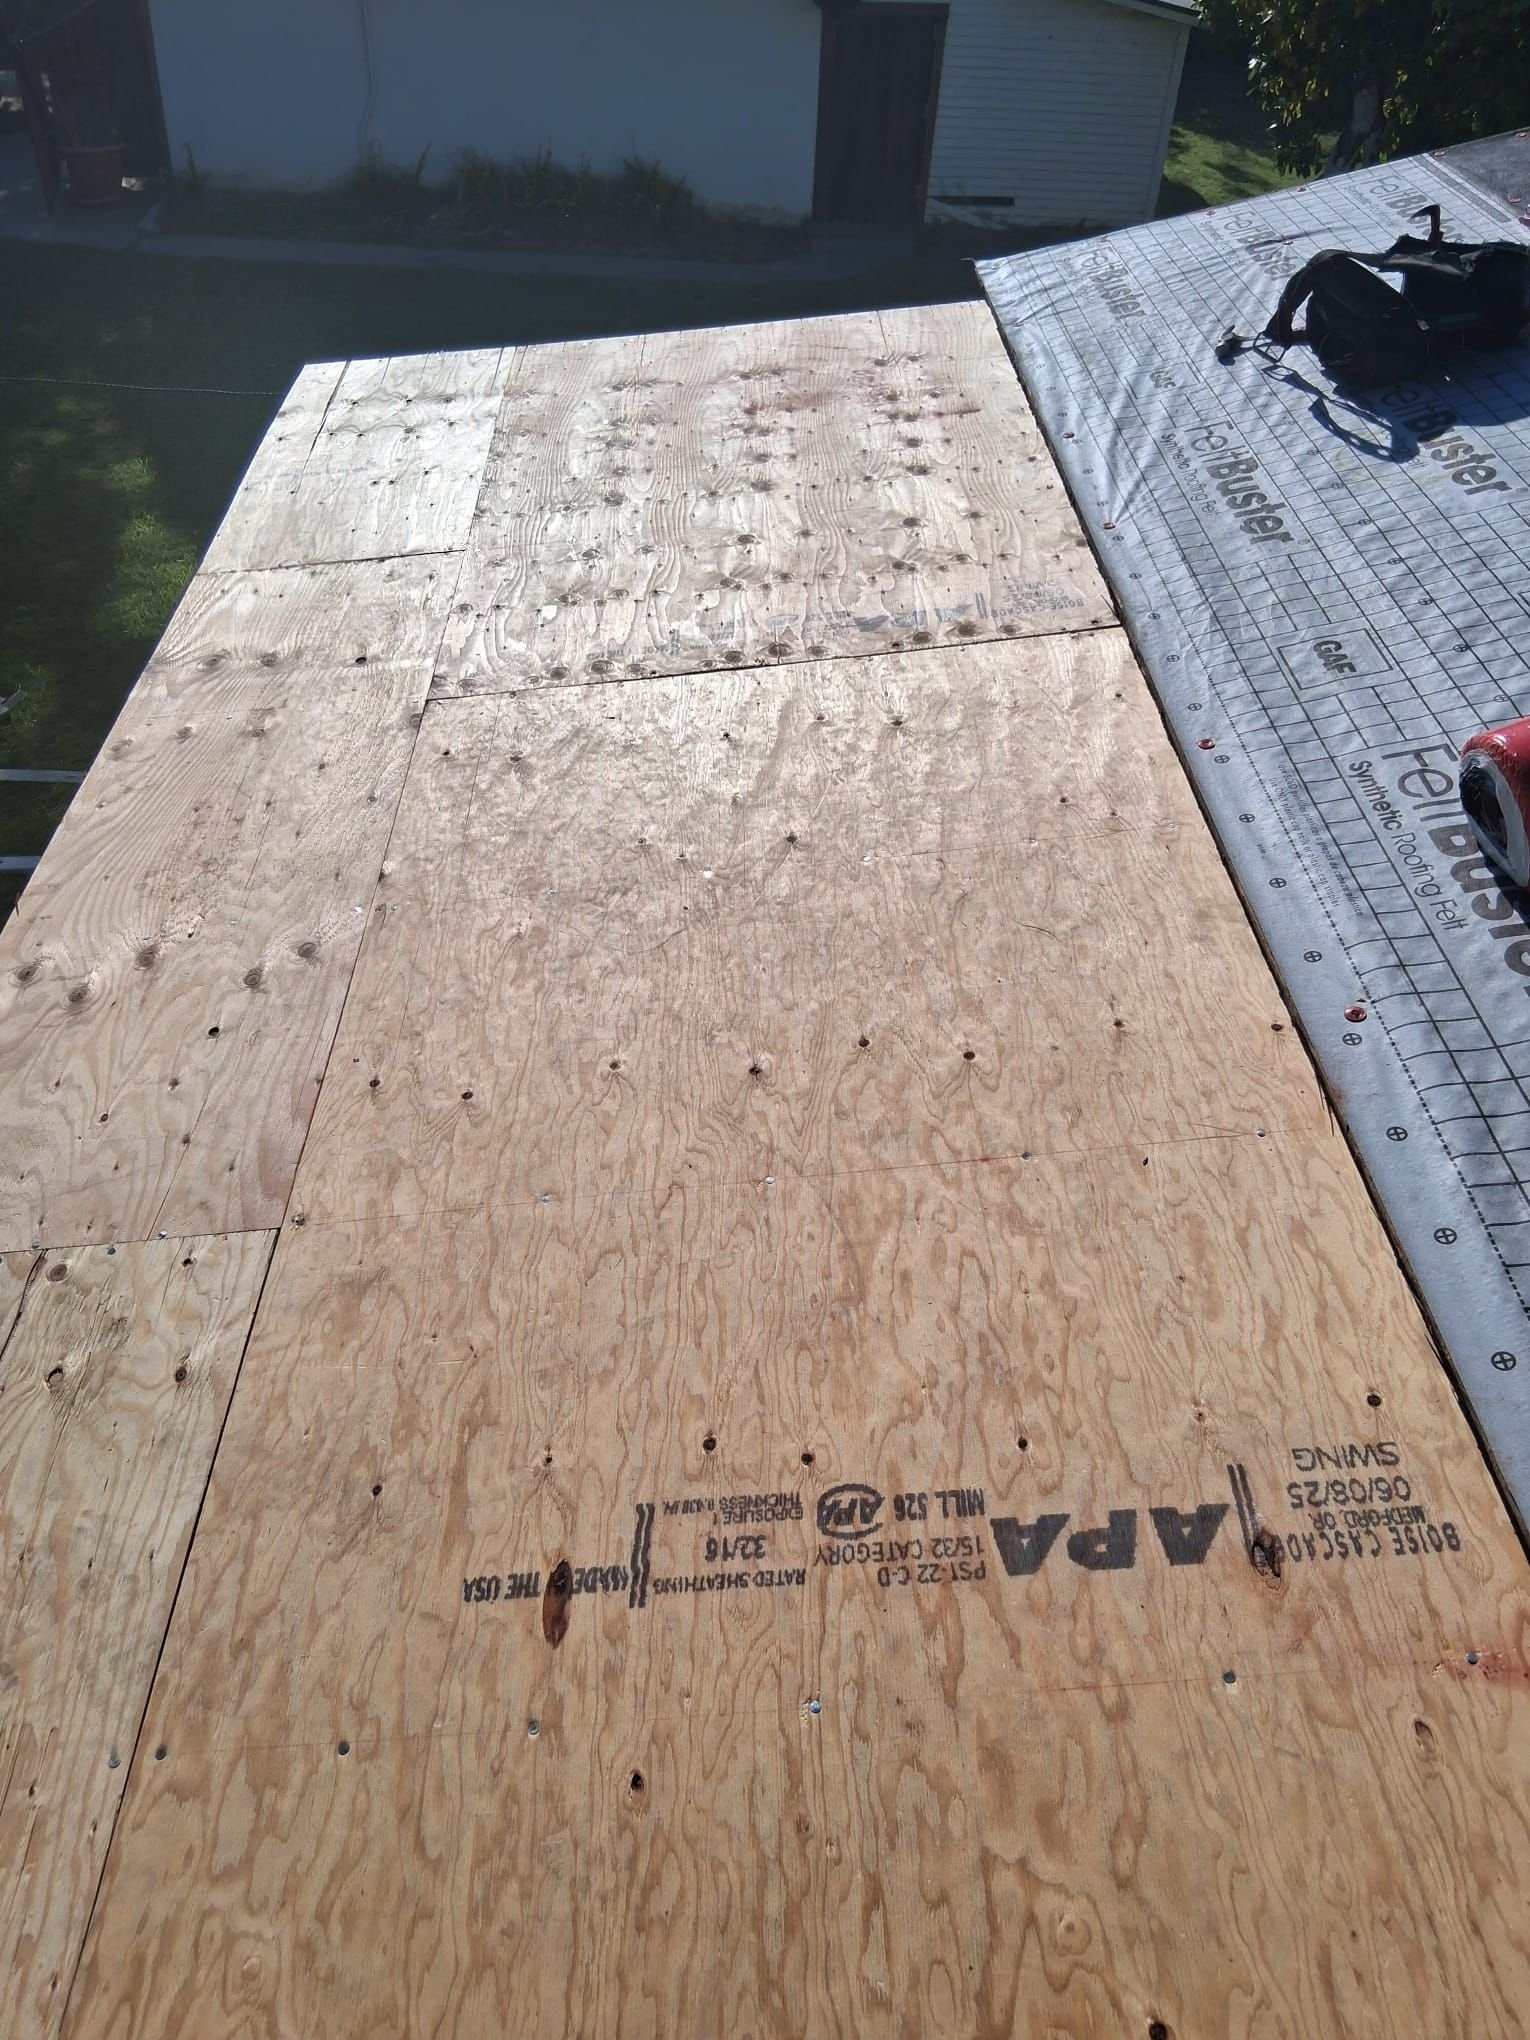
Step 3: Underlayment
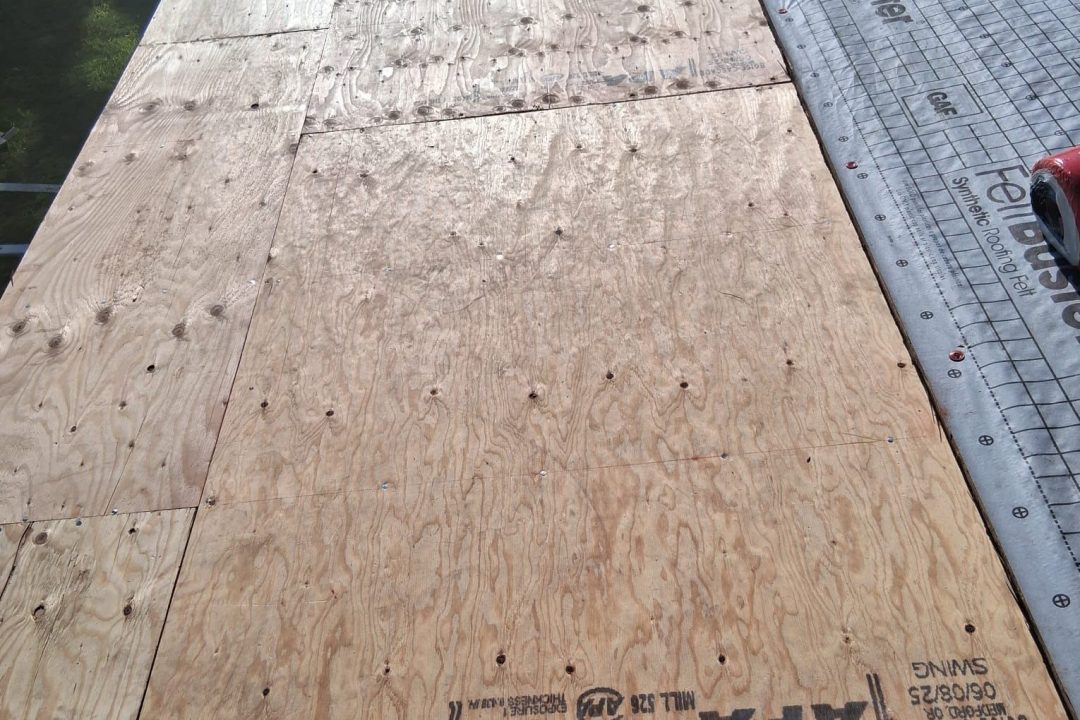
A self-adhered or mechanically fastened underlayment goes down across the entire deck, overlapped section by section to create a continuous water barrier. This layer does the actual waterproofing; the tile above protects it from UV and impact.
Step 4: Battens
Most modern tile installations use a batten system, horizontal strips that create a mounting point for each tile course, rather than fastening tile directly to the deck. Batten spacing is set to match the tile profile being installed.
Step 5: Tile Placement
Tile installation starts at the eaves and works upward, course by course, with each row overlapping the one below by a minimum headlap, commonly 3 to 4 inches depending on the tile system. Fastening follows one of several methods: mechanical screws or nails, mortar-set, or foam adhesive, chosen based on roof pitch and tile weight.
Step 6: Valleys, Hips, and Ridges
Where roof planes meet is where leaks most often start, so these areas get the most careful detail work: custom-cut tiles, extra flashing, and mortar or adhesive sealing at ridge caps and hips.
Step 7: Final Inspection and Cleanup
Once tile is set, the crew does a walkthrough checking alignment, seating, and headlap on every course, then a magnetic sweep of the yard and driveway to pick up stray nails before calling the job complete.
Timeline
A full tile installation typically takes 5 to 10 days, depending on roof size, complexity, and weather. That’s longer than shingle (1 to 3 days) or metal (3 to 5 days), simply because tile is placed piece by piece rather than in large fastened sections.
Frequently Asked Questions About Tile Roof Installation
How long does tile roof installation take?
Typically 5 to 10 days, depending on roof size and complexity, longer than shingle or metal since tile is installed piece by piece.
Why does the deck need a structural check before tile goes on?
Tile weighs significantly more than shingle or metal, commonly 900 to 1,100 pounds per square, so the deck and framing need to be confirmed capable of supporting that load before installation begins.
Do all tile roofs use battens?
Most modern installations do, since battens create a consistent, elevated mounting surface for each tile course. Some systems fasten tile directly to the deck instead, depending on the manufacturer’s specifications.
Where do tile roofs leak most often?
Valleys, hips, and ridges, where multiple roof planes meet, get the most detailed flashing and sealing work during installation because they’re the highest-risk areas for future leaks.
Get a Tile Installation Done Right, Start to Finish
As a local roofing company serving Phoenix and Scottsdale, AZ, Tip Top Roofing Service handles every step of tile installation, from structural assessment through final inspection, with the detail work at valleys and ridges that prevents future leaks.
📞 Call Tip Top Roofing Service today at (480) 877-1643
📧 Email: info@tiptoproofingservice.com
🌐 Website: https://tiptoproofingservice.com/